
Sitecore XM Cloud URL overview

Hi all, since I'm beginning my journey into Sitecore XM Cloud. I wanted to blog shortly about the different domains/urls that Sitecore uses. And which you will come across when working with XM Cloud.
Switching from classic Sitecore XP to XM Cloud can overload you with new information. So this lists the most important urls and hopefully this gives some insight in the different functionalities as well.
1. Sitecore Cloud Portal
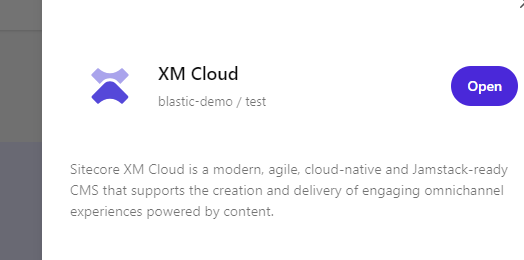
Lets start off with the Sitecore Cloud Portal itself. You can't start an XM Cloud App - or other Sitecore Apps - if you don't have access to it!
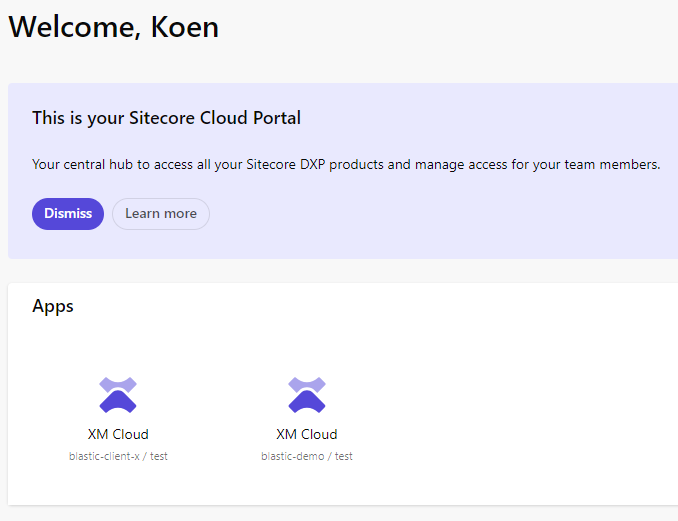
The Sitecore Cloud Portal is the central hub for accessing your composable digital experience platform (DXP) products.
- URL: https://portal.sitecorecloud.io/
- Documentation: https://doc.sitecore.com/portal/en/developers/sitecore-cloud-portal/introduction-to-the-sitecore-cloud-portal.html
It's a bit empty for me right now.
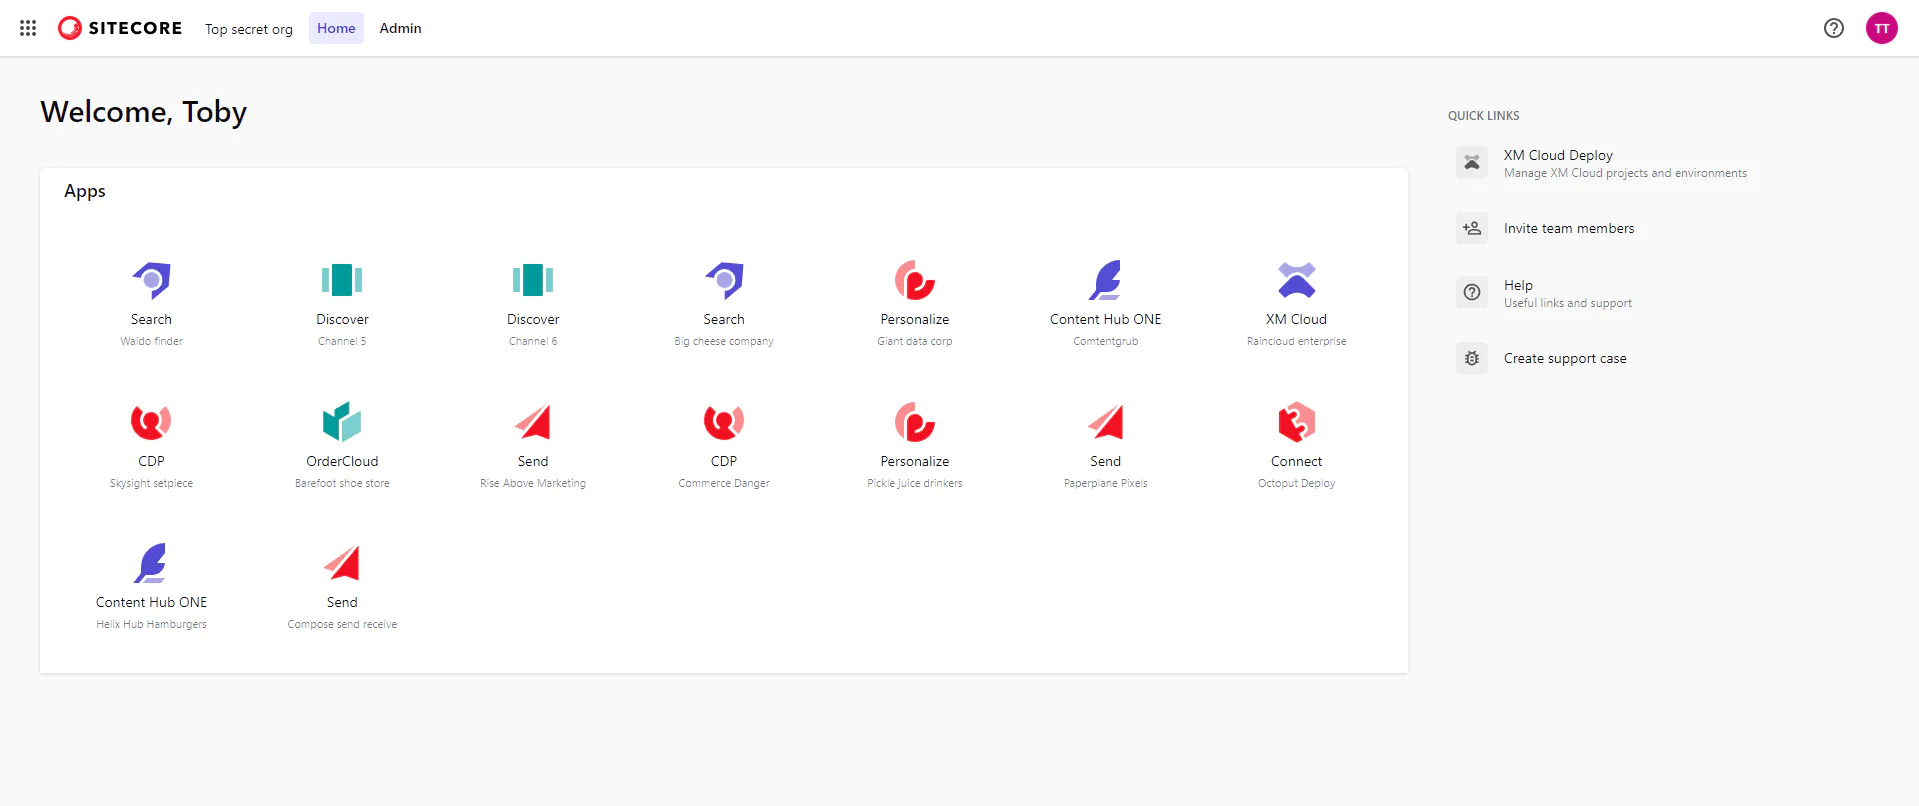
But if you have the right access, you can open up all new Sitecore DXP products such as you can see on this screenshot:
2. XM Cloud Deploy app
From the XM Cloud Deploy app, you can create an XM Cloud project using a starter template or using your existing code and manage projects, environments, and deployments.
In the screenshot of my account above, I have access to 2 XM Cloud apps. These were created by using the XM Cloud Deploy App.
Note that this isn't the only way to create an XM Cloud App.
- URL: https://deploy.sitecorecloud.io/
- Documentation: https://doc.sitecore.com/xmc/en/developers/xm-cloud/xm-cloud-deploy-app.html
3. XM Cloud Deploy api
Next to the Deploy app, you also have the option to manage XM Cloud through a REST API.
XM Cloud Deploy uses a REST API to manage projects, environments, and deployments. You can use this API or the Sitecore CLI to automate XM Cloud Deploy operations.
- Base URL: https://xmclouddeploy-api.sitecorecloud.io
- Documentation: https://doc.sitecore.com/xmc/en/developers/xm-cloud/xm-cloud-deploy-api.html
- Swagger: https://xmclouddeploy-api.sitecorecloud.io/swagger/index.html
4. Authentication url
When starting a local Sitecore XM Cloud docker environment (.\up.ps1), you'll get redirected to this url to authenticate your local application:
Verify your app on the screen and the starting of your local XM will continue.
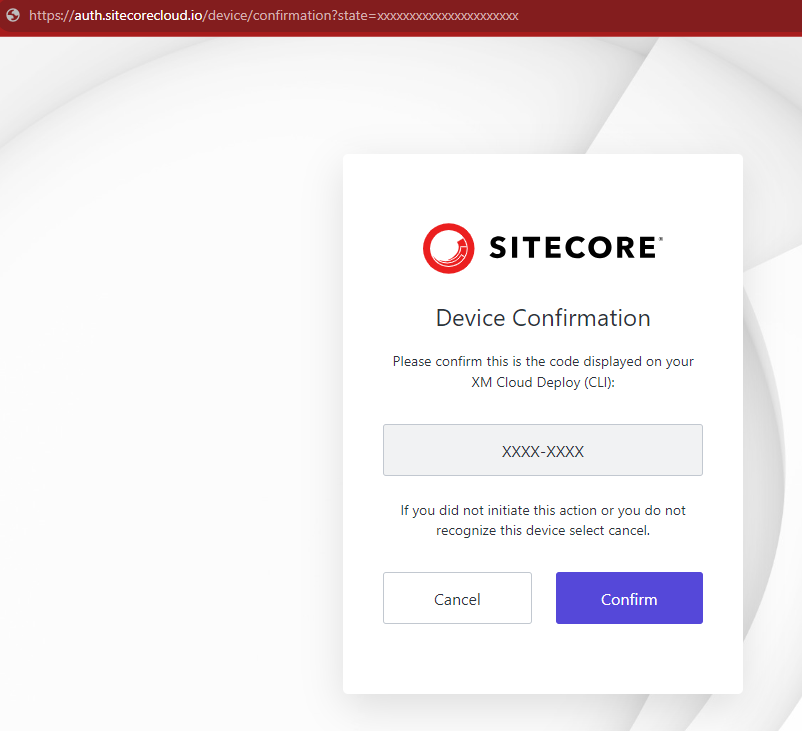
Another situation when you'll interact with auth.sitecorecloud.io is when you want to login through the sitecore cli dotnet sitecore cloud login
You'll be presented the same screen as shown above.
Furthermore, this endpoint is also used to request a JSON Web Token for your CM instance or request a JWT token for Experience Edge XM.
You'll have to call https://auth.sitecorecloud.io/oauth/token with the credentials defined in the XM Cloud Deploy app.
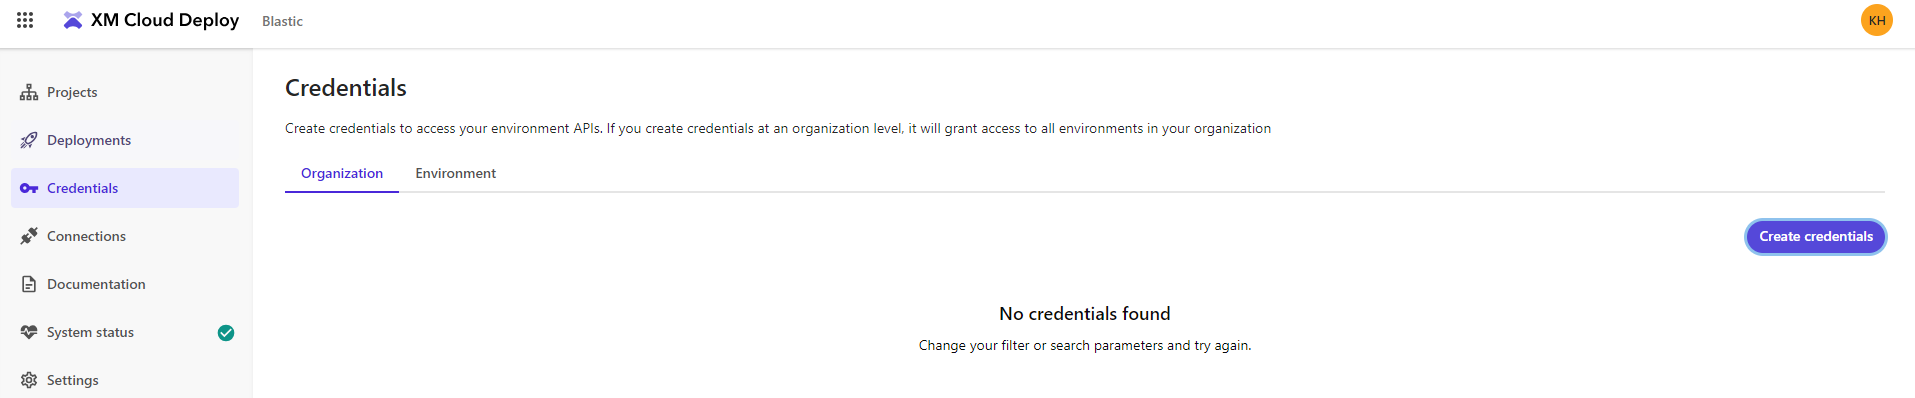
- Documentation: https://doc.sitecore.com/xmc/en/developers/xm-cloud/managing-xm-cloud-client-credentials.html
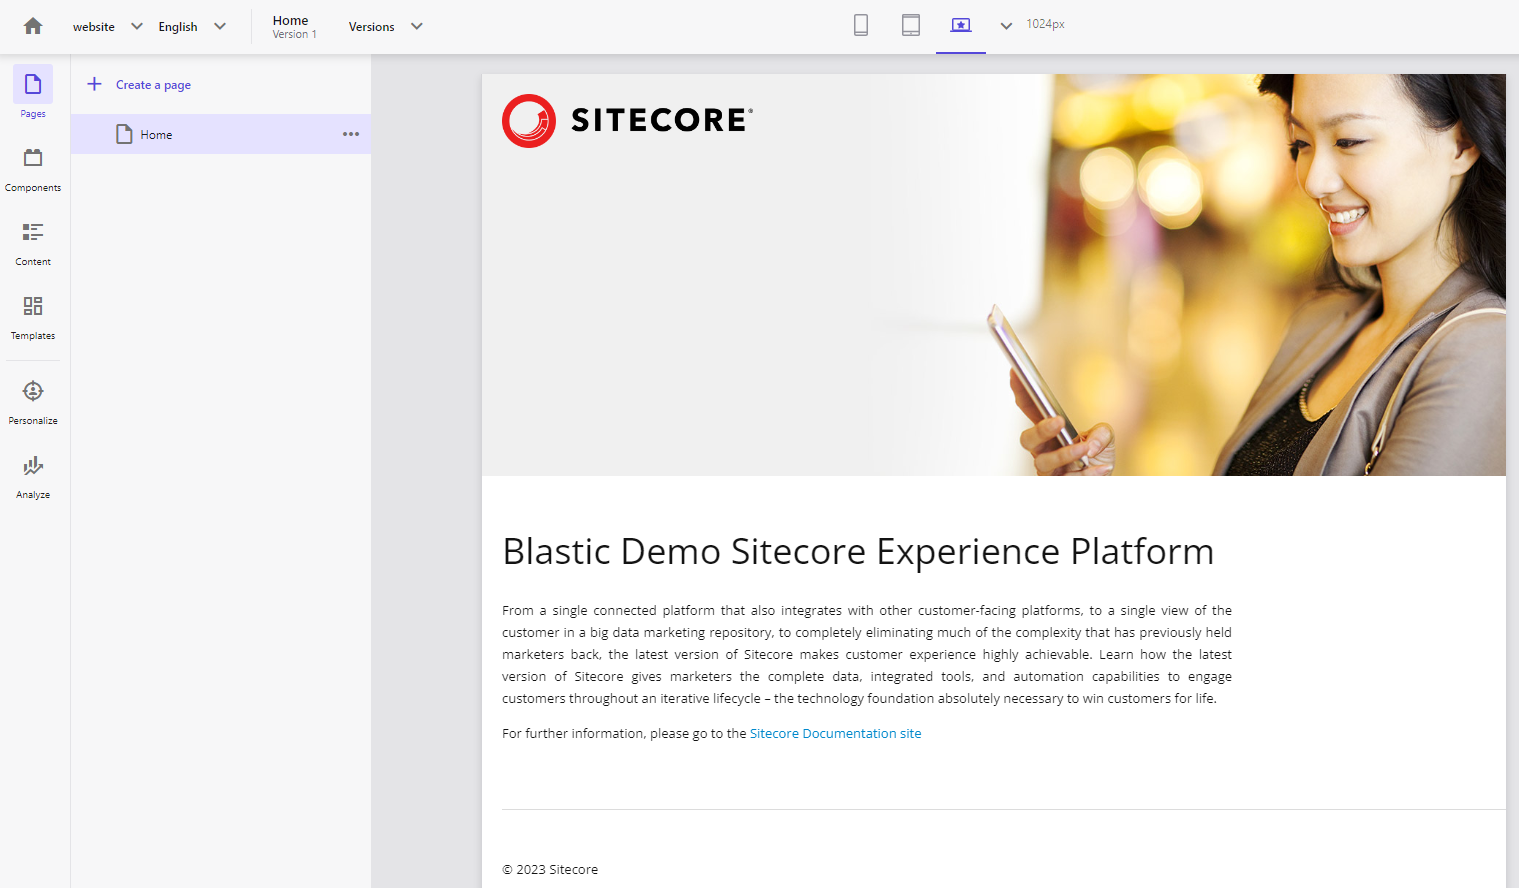
5. Pages url
XM Cloud Pages is a WYSIWYG (What You See Is What You Get) editor that allows you to easily make changes to items that are visible on a page such as text, graphics, logos, and so on.
This is your new editor!
- URL: https://pages.sitecorecloud.io
- Documentation: https://doc.sitecore.com/xmc/en/users/xm-cloud/pages.html
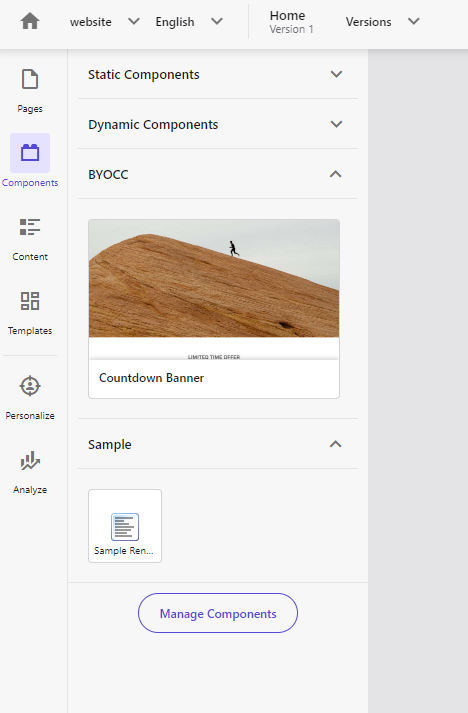
6. Components
This environment is used to manage components. It is currently (2023) in preview.
XM Cloud Components is a Front End as a Service application that lets you create your brand’s style guide and build visual components in a WYSIWYG editor.
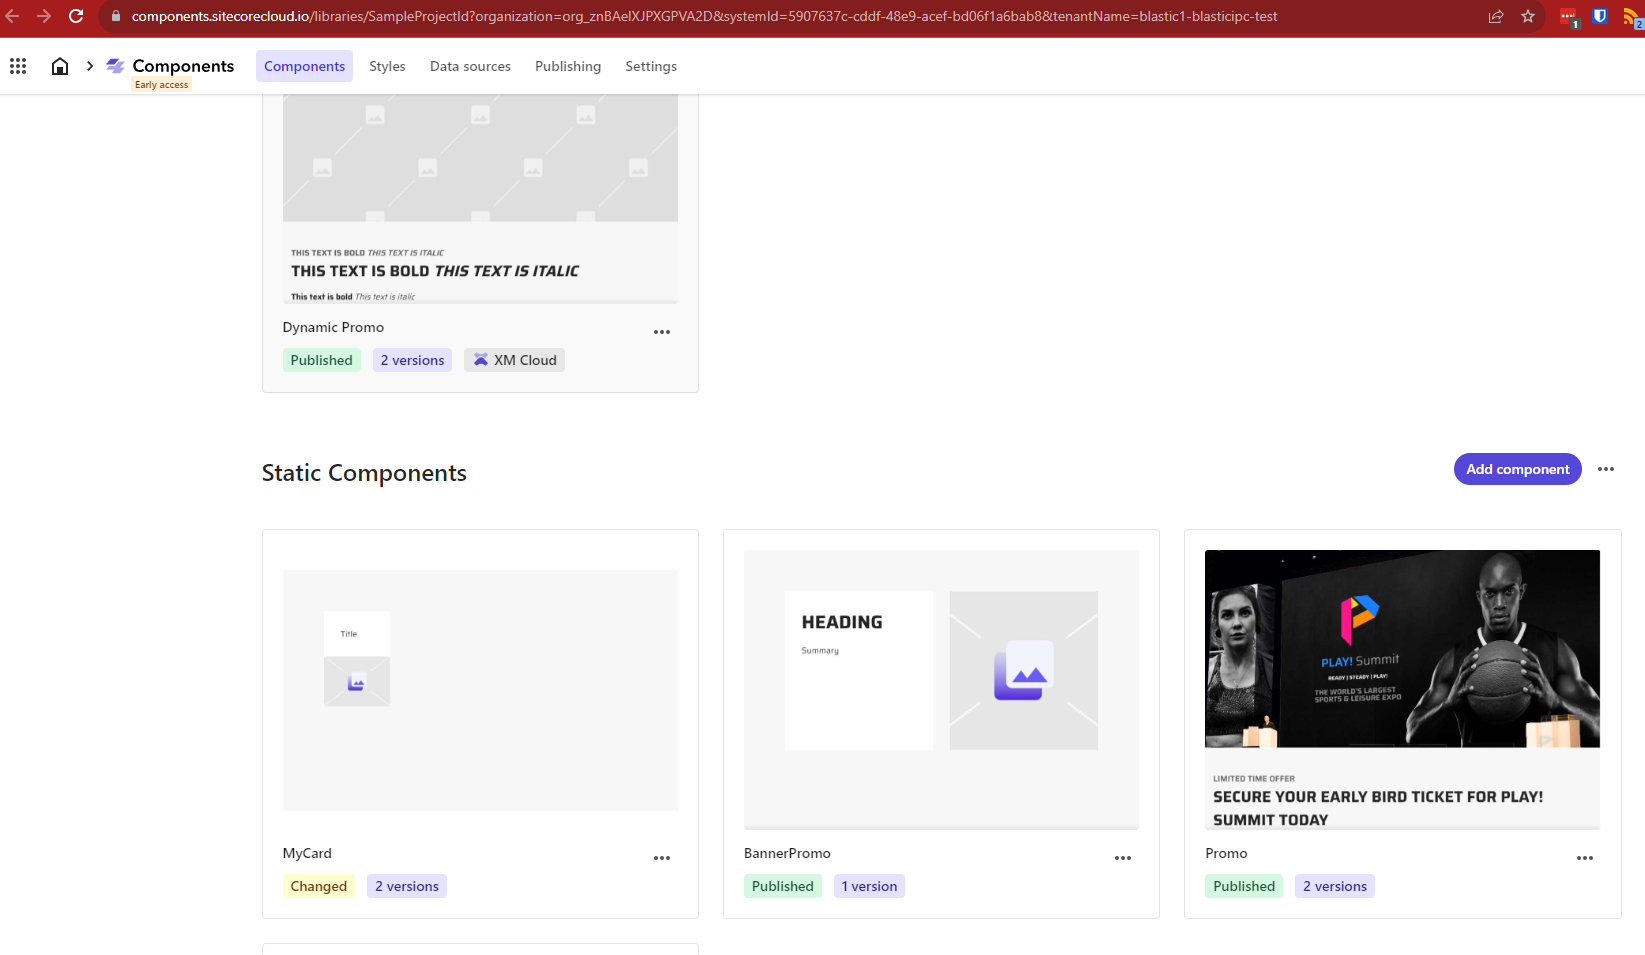
- URL: https://components.sitecorecloud.io/
- Documentation: https://doc.sitecore.com/xmc/en/users/xm-cloud/build-components.html
You get to the component environment by clicking on 'Manage component' from the pages:
Screenshot of Components environment:
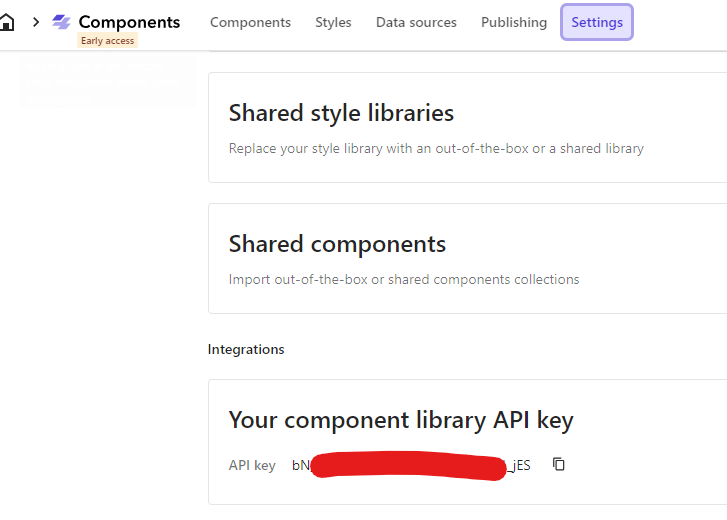
On the settings tab, you'll find a Components API key.
It was unclear at first how you can use this, but you should definitely have a look at the presentation by Alex Doroshenko on this topic:
It allows you to easily backup (pull) a library or push components to a library. Makes it useful for companies to create and manager their own library of components.
I also recommend to view this introduction video about the XM Component Builder:
7. Going from Portal to an XM Cloud app
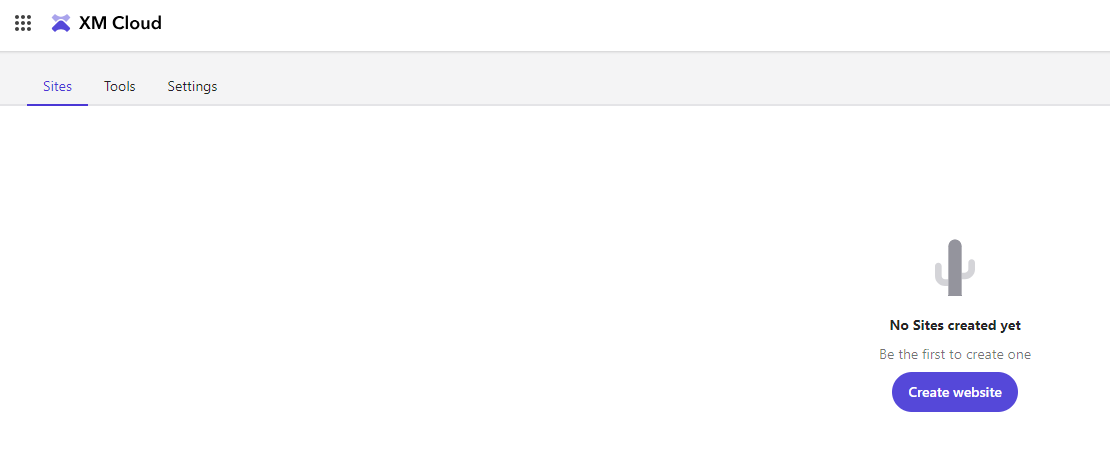
In the portal dashboard you can open a created XM Cloud app which will redirect you to the xmapps.sitecorecloud.io domain.
When you Open the app, you'll get redirected to this page which will show you the sites (if you have created any already).
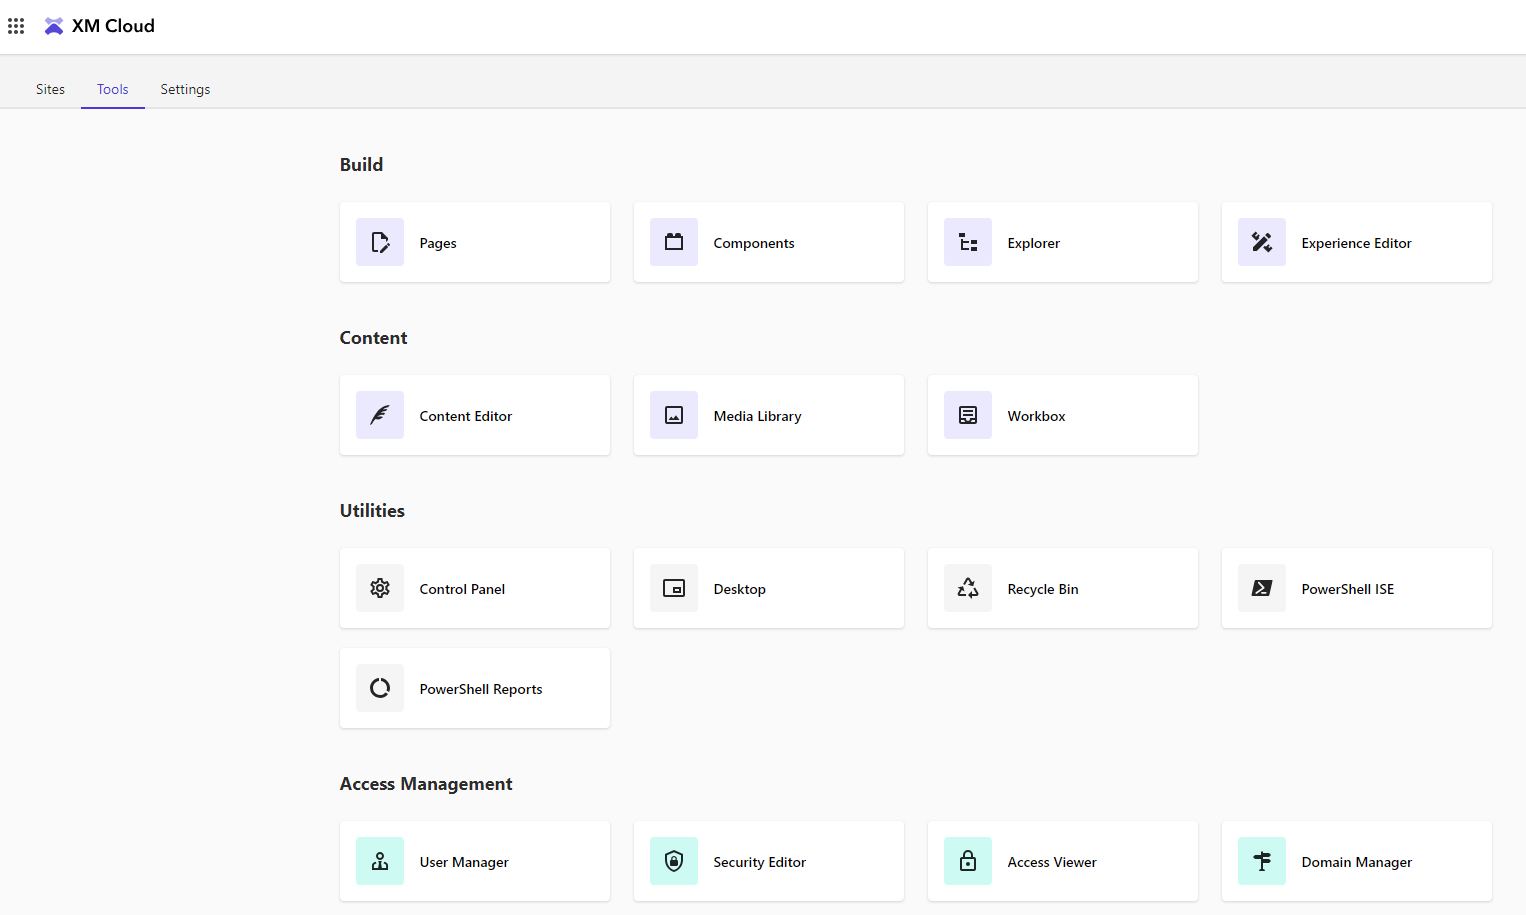
And you can view the more classical Sitecore dashboard which is underneath the 'Tools' tab:
- Example URL structure: https://xmapps.sitecorecloud.io/?tenantName={tenantName}&organization=org_{identifier}&view=tiles
8. Experience Edge endpoints
You should use the local preview GraphQL endpoint when developing locally. While you can use the Sitecore Edge Delivery endpoint for all published data. But you can also use Edge for testing and staging.
If you are concerned about public access, consider serverless functions, Next.js API routes or other API tools to proxy queries to Experience Edge.
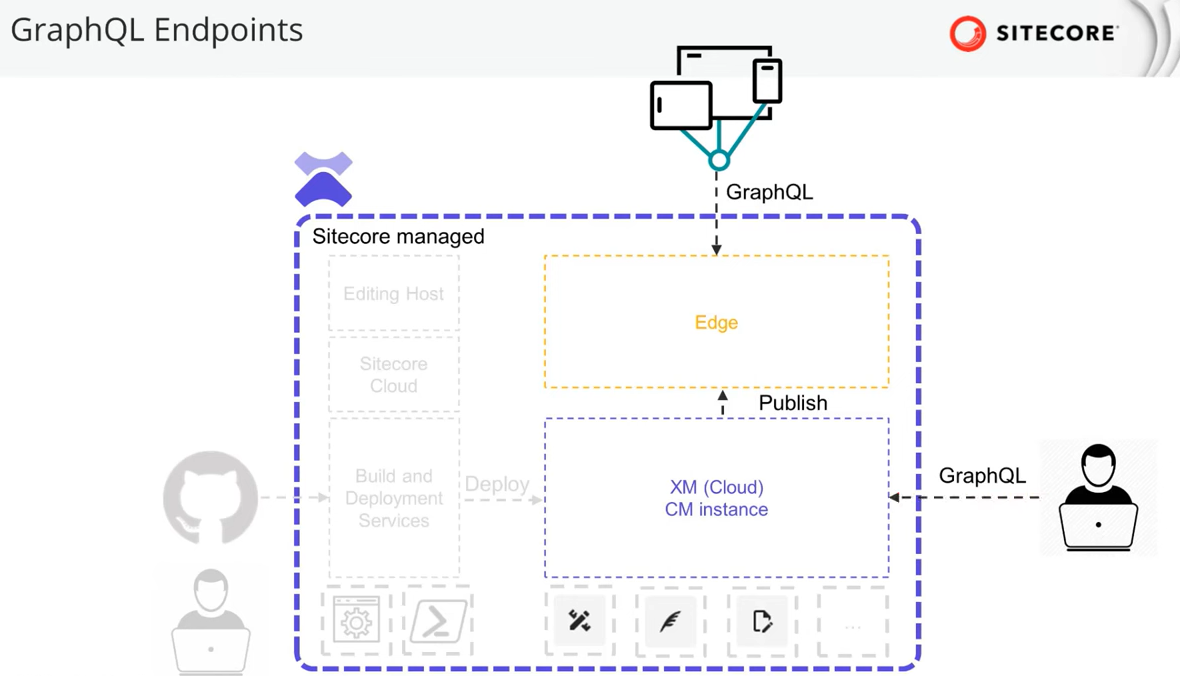

- Base URL for the Delivery GraphQL API: https://edge.sitecorecloud.io/api/graphql
- Documentation: https://doc.sitecore.com/xmc/en/developers/xm-cloud/sitecore-experience-edge-for-xm.html
- Best practices information: https://doc.sitecore.com/xmc/en/developers/xm-cloud/experience-edge-for-xm-best-practices.html
Experience Edge also provides 2 rest api's:
- a token api to manage api key used to access the Delivery API
- and an admin api to administer the Experience Edge. With this Rest API, you can: clear caches, get update and patch settings and also manage webhooks.
9. Authoring and management GraphQL api
Perhaps this one is not so known in the Sitecore community yet, but XM Cloud also provides an API that allows you to extend XM with custom dialogs and user interfaces and create your custom authoring experience.
- URL: https://<your-instance>/sitecore/api/authoring/graphql/v1
- Documentation: https://doc.sitecore.com/xmc/en/developers/xm-cloud/sitecore-authoring-and-management-graphql-api.html
This also means that you can integrate functionality wherever you want it. As long as you can call the endpoint, you can extend existing software to do operations in your Sitecore XM App.
Examples of Authoring operations:
- Create, update or delete items
- Create, update a template item
- Upload media
- Get site information
- Search items
Examples of management operations:
- archiving
- reindexing
- publishing
Conclusion
With XM Cloud a lot of new tools and functionalities became available.
Have I missed something? Reach out to me on Linked :-)